Seal Entry Points to Keep Mice Out Before Winter
Table of Contents
- Why Fall Is the Season Mice Move In
- Where Mice Enter a House: The Spots to Check First
- What to Use to Seal Mouse Holes: Materials by Size and Location
- How to Seal Gaps Around Pipes to Keep Mice Out
- Room-by-Room and Exterior Inspection Checklist
- Your Mouse-Proofing Checklist for Fall
- How to Verify a Repair Worked and When to Call a Professional
- Frequently Asked Questions
Last Updated: October 21, 2026
Why Fall Is the Season Mice Move In
When the first hard frost hits, mice start looking for warmth. That search often ends inside your walls. Learning to seal entry points to keep mice out before the cold sets in is the single most effective step a homeowner can take.
At Pest Pro Exterminator, we see the same pattern every October and November. Calls spike as temperatures drop. Mice and other nuisance insects move indoors seeking shelter, food, and heat. A house with open gaps is an open invitation.
The window to act is short. Once mice settle in, they multiply fast and leave droppings, gnaw marks, and nesting material behind. Sealing now costs far less than trapping later.
Where Mice Enter a House: The Spots to Check First
Mice enter a house through gaps as small as a dime (Rats and mice). They target foundations, doors, windows, and utility openings. A careful walk around your home will usually reveal several weak spots.
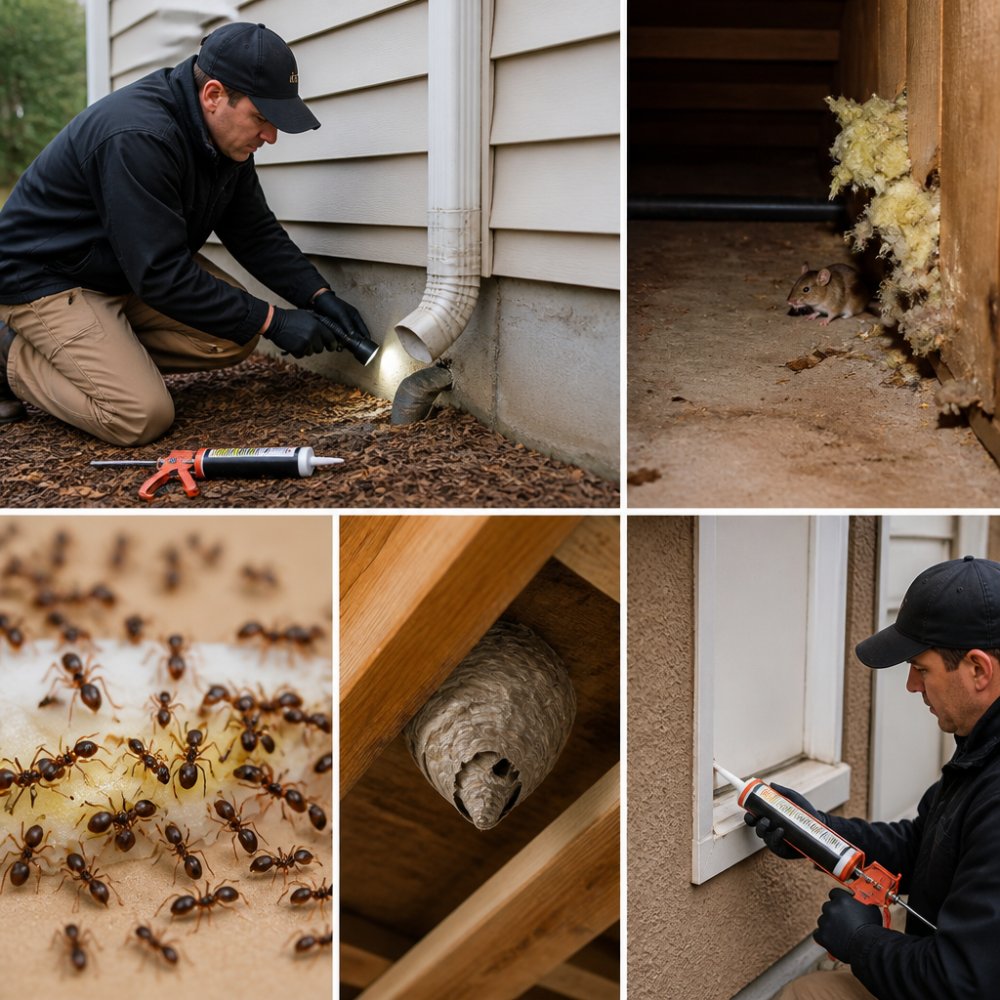
Foundation and Exterior Wall Gaps
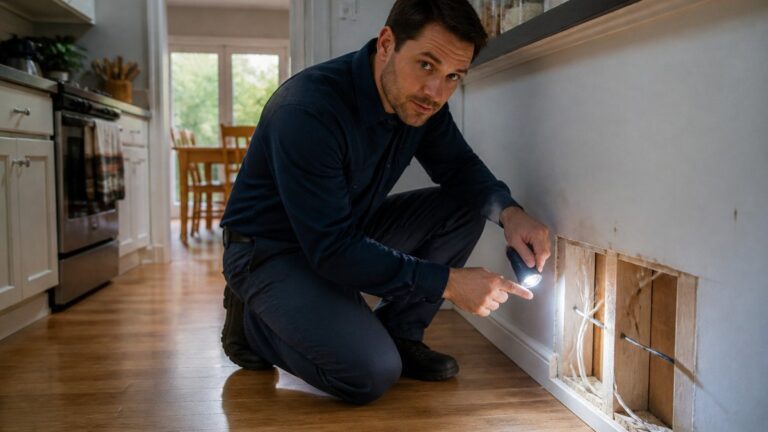
Foundations and exterior walls are the top entry route. Cracks in masonry, gaps where siding meets the foundation, and holes around utility lines all invite rodents. Check the full perimeter at ground level. Pay attention to corners and areas hidden by shrubs.
Doors, Windows, and Frames
Doors and windows wear out over time. Weather stripping cracks. Door sweeps flatten. Frames shift. Any light gap under a door is a doorway for mice. Run your hand along the bottom and sides of each exterior door. If you feel cool air, mice will feel it too.
What to Use to Seal Mouse Holes: Materials by Size and Location
The right material depends on hole size and location. Steel wool blocks gnawing. Caulk seals small cracks. Durable materials handle larger openings. Matching the material to the job is what makes a repair last. Use the guide below to pick a repair that survives the season rather than one that fails after the first freeze-thaw cycle.
Match the Material to the Hole
| Hole size | Best material | Where it works | Trade-off |
|---|---|---|---|
| Hairline to 6 mm (pencil-width) | Exterior-grade caulk or sealant | Cracks in masonry, siding joints, window frames | Cracks again if the substrate shifts; re-check after frost |
| 6 to 12 mm (dime- to finger-width) | Coarse steel wool packed tight, then capped with caulk | Pipe and cable entries, small foundation gaps | Rusts outdoors if left uncapped; always cover it |
| 12 to 25 mm | Copper mesh or wire mesh, then patched over | Vents, soffits, larger utility openings | Mesh alone leaves edges; finish with sealant or flashing |
| Over 25 mm | Mortar, flashing, or a fitted patch plus mesh core | Foundation breaks, sill gaps, damaged siding | Needs the right substrate; mortar will not bond to loose debris |
Measure before you buy. A gap that looks small from a distance often opens wider behind the siding, so probe it with a screwdriver to find the true size.
Steel Wool, Caulk, and Sealant
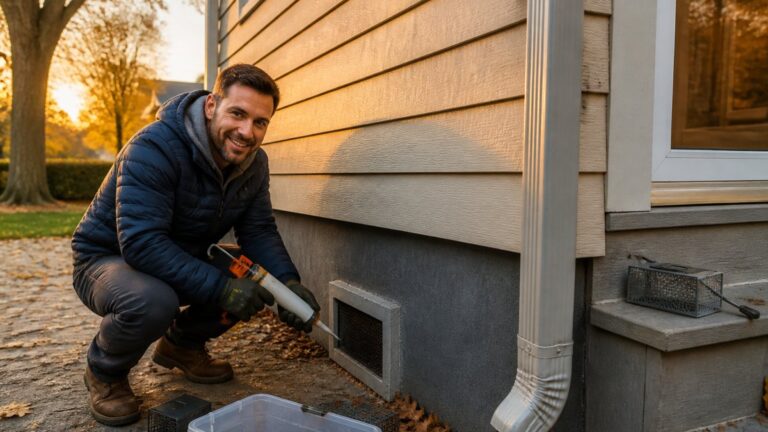
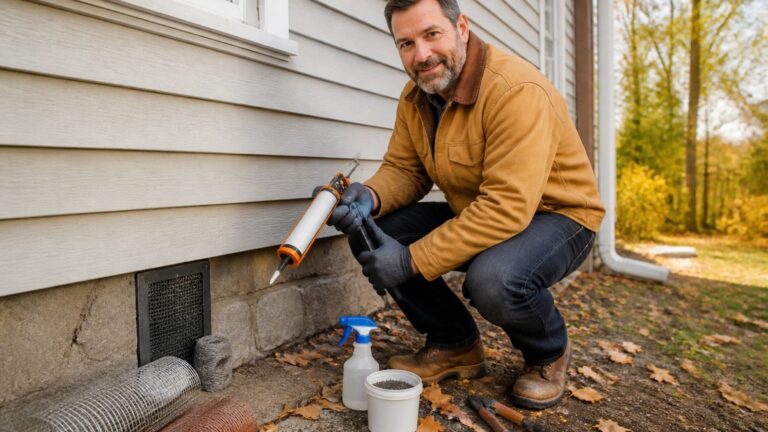
Steel wool is the go-to for small holes. Mice hate chewing through it. Pack coarse steel wool into gaps around pipes and small openings, then cover it with caulk or sealant to hold it in place. Use exterior-grade sealant outdoors so it survives freeze-thaw cycles. Fine steel wool is a poor choice because it compresses and pulls apart; coarse grades hold their shape and resist gnawing. Larger structural vulnerabilities like those found at the threshold require more robust materials to seal garage door gaps against persistent intruders.
Caulk alone is a finish, not a barrier. It seals the edges of a repair and keeps moisture out, but a mouse can chew through a bead of caulk in a night. Always pair caulk with a physical blocker such as steel wool or mesh in any gap wider than a pencil.
Repairing Larger Holes and Chew-Prone Spots
For bigger holes, combine materials. Fill the core with steel wool or wire mesh, then patch over it with a durable material. Chew-prone spots near food sources need a chew-proof barrier. Copper mesh works well because rodents cannot gnaw through it. Patch, seal, and check the repair after the first cold snap.
Where the substrate is masonry, mortar is the durable finish; where it is wood or siding, flashing or a fitted patch holds better. Do not fill a large void with expanding foam alone. Mice chew through foam, and it can trap moisture against the wall. Foam is acceptable only as a backing behind mesh and sealant.
Keep a small kit on hand: coarse steel wool, copper mesh, exterior-grade sealant, a caulking gun, a putty knife, and a flashlight. Most repairs take minutes once the materials are within reach.
How to Seal Gaps Around Pipes to Keep Mice Out
Learning to seal gaps around pipes to keep mice out is a quick job that pays off all winter. Pipes entering your home create natural gaps. Here is the process we recommend:
- Inspect every pipe where it enters the house, inside and out
- Clear loose debris from the gap
- Pack coarse steel wool into the space around the pipe
- Cover the steel wool with exterior-grade caulk or sealant
- Smooth the seal and check it after it cures
Do this for plumbing, gas lines, and cable entries. Utility openings are among the most overlooked entry points.
Visit Pest Pro Exterminator For Pest Control Services In Calgary And Surrounding Areas →
Push steel wool in tightly with a flathead screwdriver. Loose packing leaves gaps mice can work open over a few nights.
Room-by-Room and Exterior Inspection Checklist
A structured inspection beats a quick glance. Work through each area methodically and note every gap you find. Here is the checklist we use on service calls:
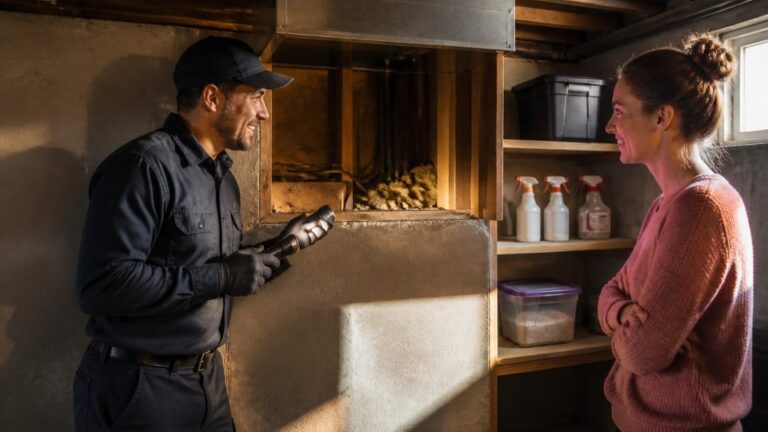
- Basement: foundation cracks, sill plates, pipe entries
- Kitchen: gaps behind appliances, under the sink, around vents
- Garage: door seals, wall gaps, corners
- Attic: roof vents, soffits, chimney flashing
- Exterior: siding gaps, foundation line, utility entries
- Crawl spaces, porches, and sheds: vents, skirting, stored items
Crawl spaces, porches, and sheds deserve extra attention. They offer shelter and easy access to the main house.
Your Mouse-Proofing Checklist for Fall
A mouse-proofing checklist for fall keeps the work organized. Start outside and work inward. Seal first, then trap and monitor.
| Task | When | Why It Matters |
|---|---|---|
| Inspect foundation and walls | Early fall | Finds cracks before frost widens them |
| Replace worn weather stripping | Early fall | Closes light gaps under doors |
| Seal pipe and utility openings | Mid fall | Blocks the most common entry points |
| Set traps and monitor | All season | Confirms whether mice are still active |
| Re-check seals after storms | Ongoing | Cold and snow can open new gaps |
How to Verify a Repair Worked and When to Call a Professional
A seal is only as good as the check that follows it. Build a short verification routine so you know whether the repair held or whether mice found another way in.
A Follow-Up Routine That Confirms the Seal
- Day 1: After sealing, walk the same perimeter you inspected and confirm every repair is intact and flush.
- Days 3 to 10: Place monitoring traps or sticky boards near repaired areas and along walls where mice travel. Check them daily.
- Day 10: Look for fresh droppings, gnaw marks, rub marks, or nesting material. No new signs means the seal is holding.
- After the first cold snap and after storms: Re-inspect exterior repairs. Freeze-thaw cycles can crack sealant, and snow load can open gaps at the roofline.
Track what you find. A simple note of the date, location, and sign type turns guesswork into a record you can compare week to week. If signs reappear at the same spot, the repair failed there; if they appear somewhere new, you missed an opening.
Reading the Signs
Fresh droppings are dark and soft; old ones are gray and brittle. Gnaw marks on wood or plastic near a repair mean a mouse tested the seal. Rub marks along a wall show a travel route, which often leads back to an opening you have not found. Grease smudges and urine stains are clues worth following.
When DIY Sealing Is Not Enough
Some jobs are bigger than DIY. Call a professional when you find:
- Activity in multiple rooms or on more than one floor
- Droppings in kitchens, pantries, or food storage areas
- Damage inside walls, such as chewed wiring or insulation
- Gaps you cannot reach safely, such as high rooflines or deep crawl spaces
- Repairs that fail repeatedly at the same spot
- Signs that persist after two weeks of monitoring
At Pest Pro Exterminator, our team inspects, identifies, and seals entry points as part of a full prevention plan. With 18+ years of combined experience, we handle both homes and commercial properties.
Never seal a gap while mice are still active inside. You will trap them indoors, and the problem gets worse. Confirm the house is clear first, then seal and monitor.
Frequently Asked Questions
What should you use to seal entry points to keep mice out?
The right material depends on the gap. For small cracks and holes, pack steel wool into the opening and finish with exterior-grade caulk or sealant. For gaps around pipes, use steel wool wrapped around the pipe, then seal with caulk. Larger holes need patching with metal mesh, hardware cloth, or a solid repair before sealing. Avoid foam alone, since mice can chew through it. Always combine a chew-proof filler with a sealant so the repair holds through freeze-thaw cycles.
Can mice get through gaps around pipes and doors?
Yes. Mice can squeeze through openings much smaller than their bodies, so even a narrow gap around a pipe or under a door is enough. Check where pipes, vents, and cables enter the house, and look for light gaps under exterior doors. Install door sweeps, replace worn weather stripping, and seal pipe penetrations with steel wool and caulk. A thorough inspection of these spots is one of the most effective ways to seal entry points before cold weather drives rodents inside.
When should I inspect my home for mouse entry points before winter?
Start in early fall, before overnight temperatures drop and mice begin looking for shelter. Walk the exterior walls, foundation, doors, windows, and utility openings, then check the interior for droppings or gnaw marks. Repeat the inspection after the first hard freeze, since shifting soil and settling can open new gaps. A fall mouse-proofing checklist makes this quick: inspect, seal, monitor, and recheck every few weeks through the season.
How do I know a repair actually kept mice out?
Watch for signs over the next week to 10 days: fresh droppings, gnaw marks, shredded nesting material, or new rub marks along walls. Place monitoring traps or bait stations near repaired openings and check them regularly. If activity continues, the mice may be using another entry point you missed. A second inspection often finds it. If activity persists despite sealing, a professional assessment can locate hidden openings and confirm the exclusion work is complete.
Mice do not wait for the first snowfall, and neither should you. If you find gaps you cannot close or signs of activity, Pest Pro Exterminator can help. Our team offers inspection, customized treatment, and ongoing prevention for homes and businesses. Book a free quote or consultation and get your home sealed before winter.