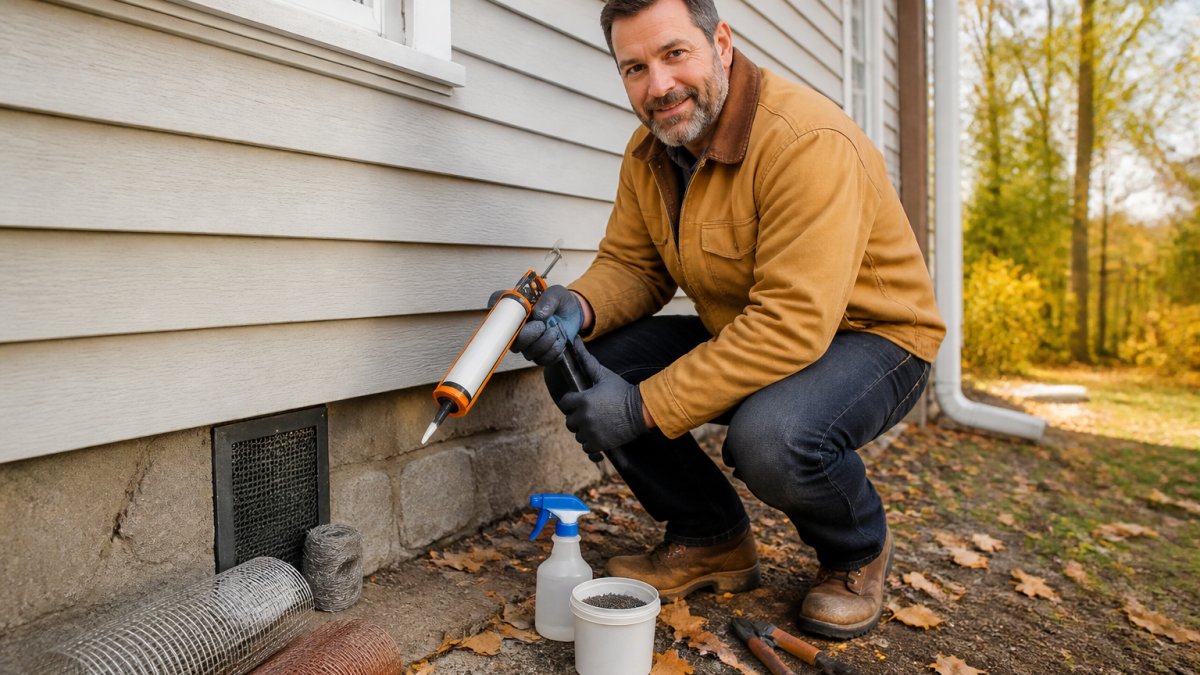
7 Mouse Proofing Methods That Work in Older Homes
Last Updated: October 29, 2026
Quick Summary
The best mouse proofing for older homes means sealing every gap wider than a pencil, starting at the foundation and working up to doors, windows, vents and utility lines. Pack gaps with copper mesh, steel wool or hardware cloth first, then seal around the metal, since mice chew through caulk and spray foam alone.
- A young house mouse can slip through a gap the width of a pencil.
- Seal the foundation first, then doors and windows, then vents and utility lines.
- Copper mesh, steel wool, hardware cloth and metal flashing resist chewing; caulk and spray foam alone do not.
- Cover crawl space vents and roof soffits with galvanized hardware cloth fastened with screws or staples.
- Run the fall checklist every October and re-check everything after the first cold snap.
Table of Contents
- Why Older Homes Lose the Mouse Proofing Battle First
- How to Seal Mouse Entry Points: A Prioritized Walkthrough
- Best Materials to Block Mice (and What They Chew Through)
- Mouse Nest Signs in the Home Before Winter Sets In
- Your Fall Pest Prevention Checklist for Older Houses
- Cleaning Up After Mice Without Making Yourself Sick
- When DIY Mouse Proofing Stops Being Enough
- Book a Free Mouse Proofing Inspection Before the Cold Sets In
- Frequently Asked Questions
Why Older Homes Lose the Mouse Proofing Battle First
Older homes lose the fight because they were built before anyone thought about mice.
Here’s the core problem: mice don’t need much room. A young house mouse can slip through a gap the width of a pencil.
Cold weather is the trigger. As overnight temperatures drop, field mice and house mice move toward warmth.
The best mouse proofing methods for older homes start with one idea: block the openings, not just the mice. Traps catch what’s already inside.
How to Seal Mouse Entry Points: A Prioritized Walkthrough
Sealing mouse entry points means closing every gap wider than a pencil, working from the lowest point of the house upward. Prioritize the foundation, then doors and windows, then vents and utility lines. Do the high-traffic gaps first so you cut off access fast.
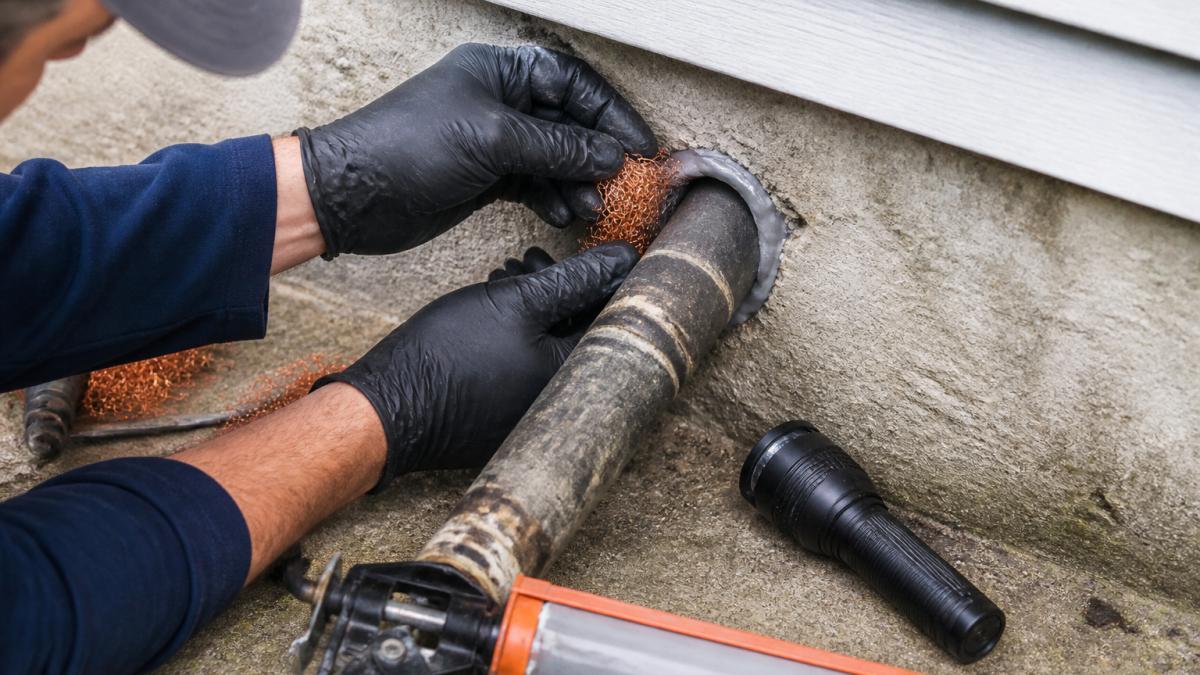
Start at the Foundation and Work Up
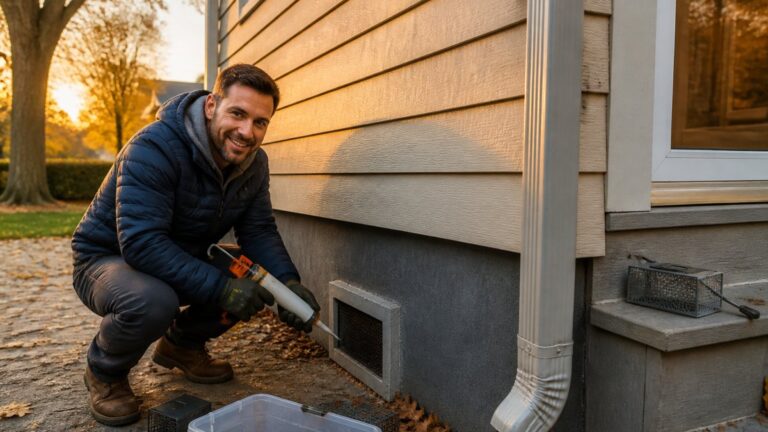
Begin outside, at ground level, and walk the full exterior perimeter.
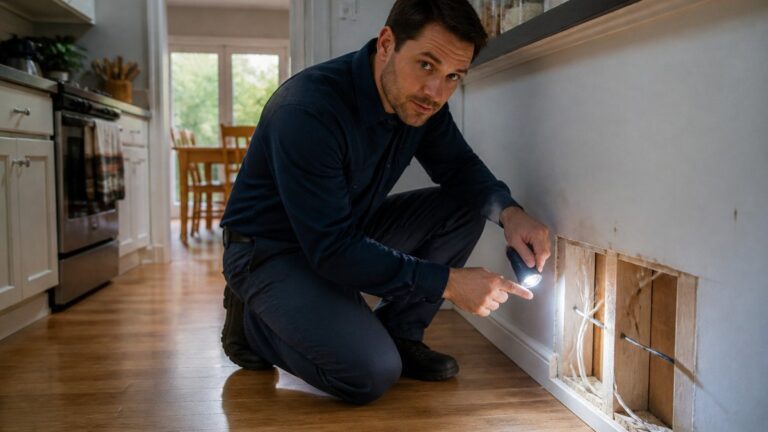
Older homes often have a sill plate that has shrunk or shifted. That gap between the wood and the foundation is a classic mouse highway.
Check the crawl space too. If you’re unsure where the gaps are, our guide on how to identify rodent entry points walks through the spots most people miss.
Doors, Windows, Vents and Utility Lines
Doors and windows are the easiest entry points to miss. Check the sweep at the bottom of every exterior door. If you can see daylight under it, a mouse can get through.
Then look up. Roof vents, soffits, and the gaps around cable and gas lines are common entry points on older houses. Seal them with chew-resistant material, not foam alone.
For a deeper step-by-step, see our full guide on how to seal entry points to keep mice out before winter.
Best Materials to Block Mice (and What They Chew Through)
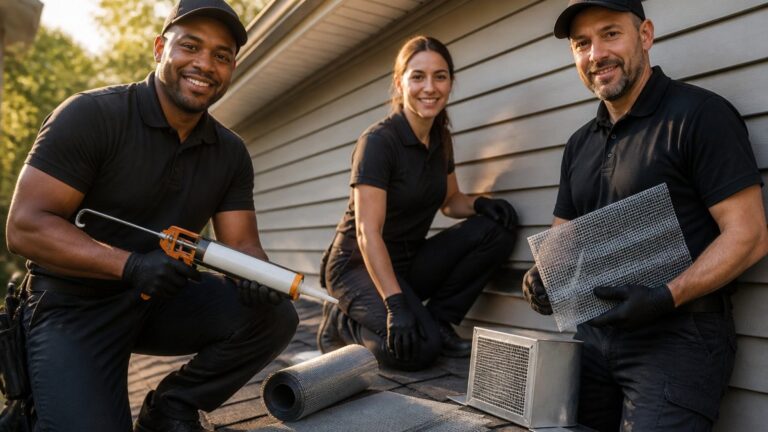
The best materials to block mice are copper mesh, steel wool, hardware cloth, and metal flashing, paired with a sealant that holds them in place. Standard caulk and spray foam alone won’t stop a determined mouse.
Visit Pest Pro Exterminator For Pest Control Services In Calgary And Surrounding Areas →
Here’s what holds up and what fails, with durability and best-use guidance for older construction:
| Material | Chew-resistant? | Durability | Best use in an older home |
|---|---|---|---|
| Copper mesh | Yes | Long-lasting; won’t rust | Gaps around pipes, utility penetrations, and irregular stone or brick mortar joints |
| Steel wool | Yes | Coarse grade lasts; fine grade compresses over time | Small holes and cracks; pack tight and seal |
| Hardware cloth (galvanized) | Yes | Years outdoors when galvanized | Crawl space vents, soffits, large openings, and chimney caps |
| Metal flashing | Yes | Decades | Door sweeps, sill plates, and kick plates at the base of exterior doors |
| Backer rod + sealant | Partial | Sealant alone degrades and mice chew it | Use only as a holder for metal mesh, never as the sole barrier |
| Caulk alone | No | Cracks and shrinks | Cosmetic sealing only |
| Spray foam alone | No | Mice chew through easily | Filler around packed mesh, not a barrier |
The rule is simple: pack the gap with metal first, then seal around it. A mouse can chew foam. It can’t chew through copper mesh packed tight.
Match the Material to the Location
Older homes have three distinct zones, and each calls for a different approach:
- Foundation and sill plate: Use copper mesh or stainless steel wool packed into the gap between the wood sill and the foundation, then cover with a sealant rated for exterior masonry. Sill gaps widen as old lumber shrinks, so re-check them each fall.
- Utility penetrations: Where pipes, cable, and gas lines enter through stone or brick, pack copper mesh around the line and seal with an exterior-grade compound. Avoid expanding foam alone, mice chew it and it can crack older mortar.
- Vents and soffits: Cover crawl space vents and roof soffits with galvanized hardware cloth, fastened with screws or staples. Replace torn mesh rather than patching it.
- Doors and windows: Install metal or brush door sweeps at the bottom of every exterior door and check that the sweep contacts the threshold. Replace worn weatherstripping around window frames.
A common pattern in older homes is a gap that looks sealed but isn’t: caulk over a crack with no metal backing. Mice chew the caulk, find the void behind it, and you’re back to square one. Always pack metal first.
For a broader look at durable winter materials, read our guide on winter rodent proofing methods for your home.
Mouse Nest Signs in the Home Before Winter Sets In
Mouse nest signs include shredded paper, insulation, and fabric tucked into corners, plus droppings along walls and gnaw marks on wood or wiring. Finding these before winter means you can act before a small problem becomes an infestation.
Check these spots first:
- Behind appliances and under the sink
- In the attic, near insulation
- Inside crawl spaces and basement corners
- Along wall bases and inside closets
Droppings are the clearest sign. Never sweep them dry, since that can stir up dust. We’ll cover safe cleanup below.
If you spot a nest in the attic, our 7-step guide to getting rid of mice in an attic covers the full removal process.
Your Fall Pest Prevention Checklist for Older Houses
A fall pest prevention checklist for older houses covers sealing, food storage, and clutter removal before the first hard frost. Run through it every October. It takes an afternoon and saves a season of trouble.
- Walk the exterior perimeter and seal every gap wider than a pencil
- Replace worn door sweeps on all exterior doors
- Repair torn screens on windows and crawl space vents
- Pack pipe and utility line gaps with copper mesh
- Store pet food and dry goods in sealed containers
- Clear crumbs from under appliances and in cupboards
- Remove clutter from the basement, attic, and garage
- Trim branches and clear debris away from the foundation
- Set traps in quiet corners as an early warning
- Re-check everything after the first cold snap
Food sources matter as much as gaps. An open bag of pet food in the garage is an invitation. So is a pantry with loose cereal boxes.
Cleaning Up After Mice Without Making Yourself Sick
Cleaning up after mice safely means avoiding dry sweeping, wearing gloves and a mask, and disinfecting every surface the mice touched. Mouse droppings and urine can carry harmful bacteria and viruses. Disturbing them dry sends particles into the air you breathe.
Health agencies such as the Public Health Agency of Canada advise against dry sweeping or vacuuming rodent droppings because it can aerosolize contaminated dust. The safe approach is to wet the area first, then remove and disinfect.
Follow these steps:
Visit Pest Pro Exterminator For Pest Control Services In Calgary And Surrounding Areas →
- Put on gloves and a respirator mask (N95 or better) before entering the space.
- Open windows and ventilate the area for at least 30 minutes before starting.
- Spray droppings and contaminated surfaces with a disinfectant or a diluted bleach solution, and let it sit before touching anything.
- Wipe up with paper towels, bag them in a sealed plastic bag, and dispose of them outside.
- Disinfect the whole area again, then wash your hands thoroughly with soap and water.
- Remove and wash clothing separately from other laundry.
Dry sweeping or vacuuming droppings is the most common mistake. It spreads contaminated dust through the room and into your lungs. Never use a household vacuum on rodent waste.
Older Homes Need Extra Caution
Older construction adds cleanup risks that newer homes don’t have:
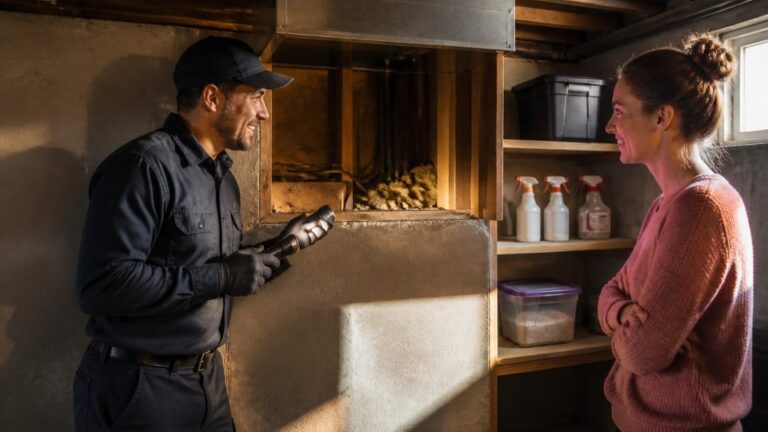
- Insulation: Mice tunnel through batt and loose-fill insulation. Contaminated insulation usually needs to be removed and replaced rather than spot-cleaned, especially in attics and crawl spaces.
- Porous materials: Old wood, cardboard, and fabric absorb urine and can’t be fully disinfected. Bag and discard them.
- Crawl spaces and voids: Droppings inside wall cavities or under floors are hard to reach and easy to disturb. If you find heavy contamination in a crawl space or behind a wall, professional remediation is the safer route.
- Dead mice: Never handle a dead mouse with bare hands. Use gloves and tongs, bag it, and disinfect the surface where it was found.
When to Call a Professional for Cleanup
Call a professional when contamination is widespread, when droppings are inside insulation or wall cavities, when the space is poorly ventilated, or when you have a respiratory condition or are pregnant. Pest control professionals have the protective equipment and remediation tools to handle heavy contamination safely.
If you spot a nest in the attic, our 7-step guide to getting rid of mice in an attic covers the full removal process.
When DIY Mouse Proofing Stops Being Enough
DIY mouse proofing stops being enough when you keep finding new droppings after sealing, hear scratching at night, or spot gnaw marks on wiring.
Older homes are tricky. A gap behind a cabinet or inside a wall cavity is nearly impossible to find without a trained eye. That’s where a professional inspection pays off.
Pest Pro Exterminator brings 18+ combined years of industry experience to residential and commercial pest management. Our process covers inspection, identification, and customized treatment plans.
Book a Free Mouse Proofing Inspection Before the Cold Sets In
Cold weather is coming, and mice are already looking for a way in. The best mouse proofing methods for older homes work, but only if you find every gap.
Pest Pro Exterminator offers fast, discreet pest control for residential and commercial properties. From inspection and identification to customized treatment and ongoing prevention, the team is dedicated to protecting your property.
Get started with Pest Pro Exterminator and book a free mouse proofing inspection before the first frost.
Frequently Asked Questions
Where do mice enter older homes?
Older houses offer more routes than new builds because materials have shifted and settled. The usual suspects are gaps where pipes and utility lines pass through the foundation, worn door sweeps, basement window frames, dryer and roof vents, and cracks in brick or mortar. Mice also follow gaps along sill plates and around attached garages. Walk the exterior perimeter with a flashlight and check every penetration, because a gap you can barely see is still a door for a mouse.
What materials are best for sealing mouse entry points?
Use chew-resistant materials: copper or stainless steel mesh packed into gaps, hardware cloth over larger openings, metal flashing, and mortar for foundation cracks. Standard caulk and spray foam alone are not enough, since rodents can chew through them. A practical combination is steel mesh as the barrier with sealant or mortar holding it in place. For gaps under doors, install a metal or brush door sweep so the bottom seal stays tight through the season.
How often should you check mouse proofing in an older home?
Inspect twice a year at minimum, once in early fall before mice move indoors and once in spring after freeze-thaw cycles. Older homes shift with the seasons, so a sealed gap can open again. Check the foundation line, vents, door sweeps and any spot you repaired previously. If you find fresh droppings or gnaw marks between inspections, shorten the interval and recheck monthly until activity stops.
When should you call a pest control professional about mice?
Call when you hear scratching in walls or the attic, find droppings in more than one room, or notice gnaw marks on wiring or food packaging. Repeated DIY trapping that keeps failing usually means the entry points were never sealed, so the population refills from outside. A professional inspection maps those entry points and pairs exclusion work with a control plan, which is faster than chasing signs room by room.