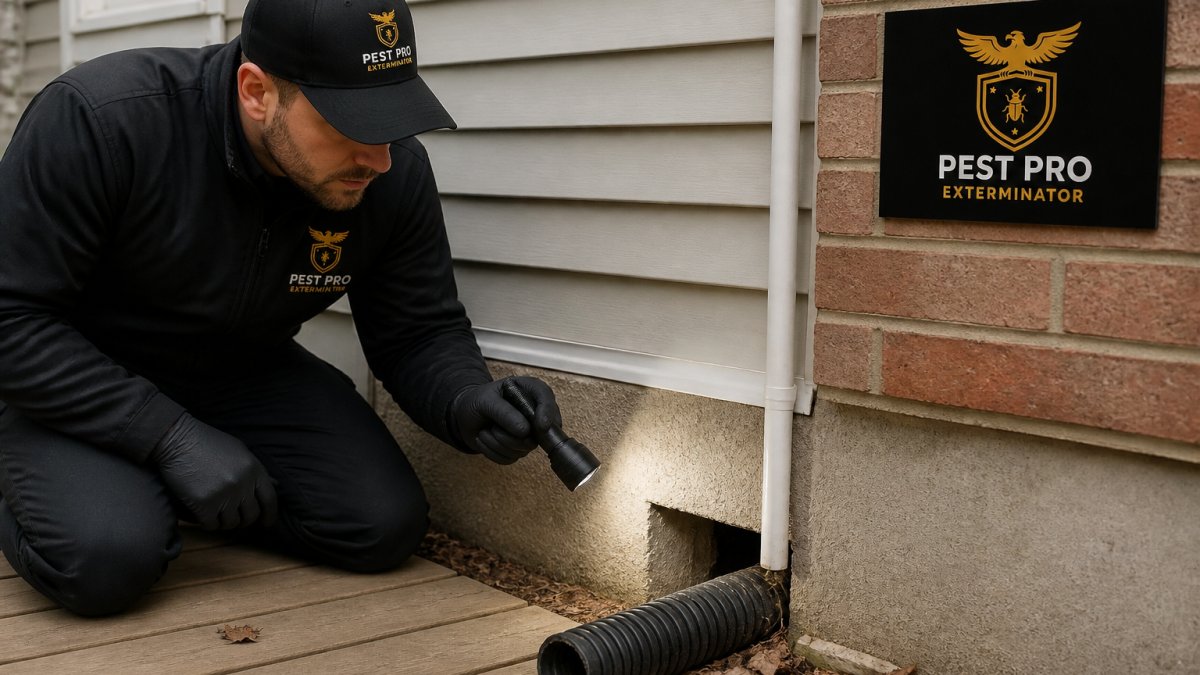
How to Identify Rodent Entry Points
Table of Contents
- Why Rodents Enter Homes as Weather Gets Colder
- Signs of Mouse Infestation in House: What to Look For
- How to Identify Rodent Entry Points: Exterior Inspection
- Interior Inspection: Wall Voids and Crawl Spaces
- How to Seal Rodent Entry Points: Materials and Techniques
- Preventing Mice in Winter: Seasonal Entry Point Variations
- Professional vs. DIY Rodent Exclusion Inspection
- Visual Inspection Checklist for Rodent Entry Points
- Frequently Asked Questions
Last Updated: October 4, 2026
Why Rodents Enter Homes as Weather Gets Colder
When temperatures drop in fall and winter, rodents seek shelter indoors. A warm house with food sources is an ideal refuge from the cold.
Mice and rats can squeeze through openings as small as a dime and gnaw through materials to widen rodent entry points. Once inside, they nest in wall voids, attics, and crawl spaces.
The good news: you can stop them before they get in. Pest Pro Exterminator helps homeowners identify and seal rodent entry points before the season turns cold.
Signs of Mouse Infestation in House: What to Look For
Before sealing entry points, confirm whether rodents are already present. Look for these telltale signs inside your home.
Rodent Droppings and Rub Marks
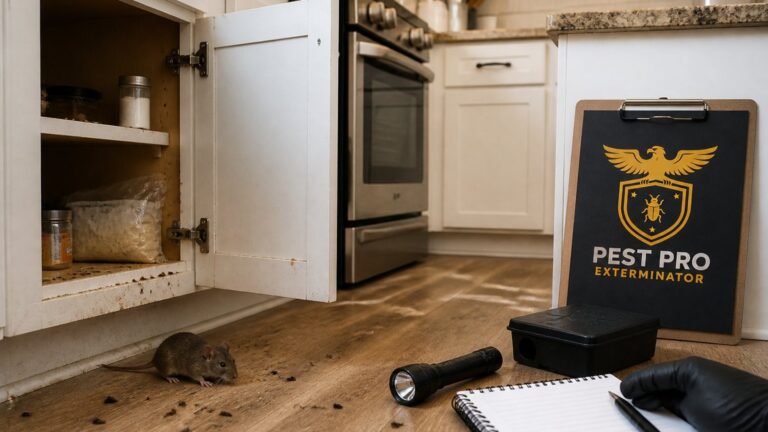
Mouse droppings are small, dark, and rice-shaped; rat droppings are larger and more oblong. Look for droppings along walls, in corners, under sinks, inside cabinets, and behind appliances, as they cluster where rodents travel regularly.
Rub marks appear as dark smudges along walls and baseboards where rodents’ fur leaves greasy marks from repeated travel.
Gnaw Marks and Chewed Materials
Rodents gnaw constantly to wear down their teeth. Look for gnaw marks on:
- Cardboard boxes and paper
- Plastic containers and bags
- Wooden baseboards and door frames
- Electrical wires and cables
- Insulation in attics and walls
Fresh gnaw marks are lighter in color; multiple marks in one area suggest active rodent traffic.
Nesting Sites and Wall Voids
Rodents build nests from shredded paper, fabric, and insulation in attics, basements, and crawl spaces. Listen for scratching sounds in walls at night; movement in walls is a strong sign of infestation.
How to Identify Rodent Entry Points: Exterior Inspection
Finding rodent entry points requires a systematic approach. Start outside and work your way around your home’s perimeter.
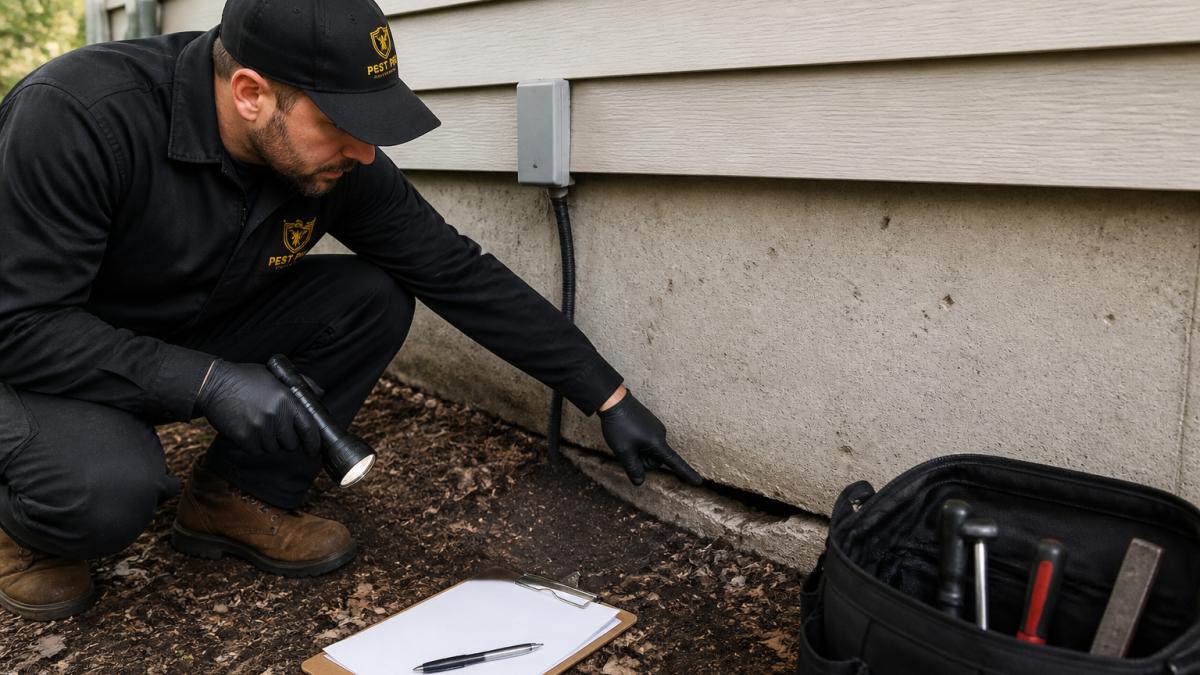
Foundation Gaps and Masonry Transitions
Inspect the foundation where it meets the ground for gaps and cracks in masonry. Check where the foundation transitions to the siding; gaps here are common rodent entry points. Even hairline cracks can allow mice through as concrete settles over time.
Roofline, Soffit Vents, and Weep Holes
Examine the roofline for damage to fascia boards and soffits. Soffit vents provide direct access to attics, inspect vent screens closely, as damaged or missing screens are open invitations. Weep holes in brick and masonry are often overlooked but allow rodent entry.
Utility Penetrations and Pipe Openings
Where pipes and utilities enter your home – water supply lines, gas lines, electrical conduits, HVAC ducts, and sewer lines – gaps are common rodent entry points. Rodents can squeeze through surprisingly small openings.
Door and Garage Trim Interfaces
Inspect door frames, thresholds, and weatherstripping for gaps. Garage door seals deteriorate over time, creating gaps at the bottom where rodents slip under easily.
Interior Inspection: Wall Voids and Crawl Spaces
Check your crawl space for droppings, nesting materials, and gaps around pipes. Inspect attic spaces for entry points where utilities penetrate the floor. Check electrical outlets for gaps, as rodents sometimes enter through them.
How to Seal Rodent Entry Points: Materials and Techniques
Once you’ve identified entry points, seal them properly. The right materials make the difference between temporary and permanent solutions. Different entry point types require different approaches.
Steel Wool, Hardware Cloth, and Caulking: Durability and Trade-Offs
Steel wool is effective for small gaps and cracks; rodents cannot chew through it. Pack it tightly into gaps, but avoid compressing it into a solid plug.
Hardware cloth provides durable exterior protection, use 6-millimetre mesh for maximum protection against mice and rats. It resists weather and lasts 10+ years when properly installed with screws or rivets.
Caulk seals gaps around pipes, utilities, and trim interfaces. Use silicone or acrylic caulk rated for exterior use, but always combine it with steel wool or hardware cloth; caulk alone is too soft and can be gnawed through.
Selecting the Right Material for Each Entry Point Type
Foundation cracks and gaps: Use hardware cloth backed with steel wool for cracks wider than 6 millimetres.
Soffit and foundation vents: Hardware cloth is mandatory here. Rodents actively target vents.
Utility penetrations (pipes, conduits, cables): Pack steel wool around the penetration, then seal with caulk. This combination allows for future access if utilities need repair.
Door frames and weatherstripping: Replace damaged weatherstripping entirely rather than patching. Install door sweeps on all exterior doors.
Garage door seals: Replace worn seals with new rubber or vinyl seals designed for your door model. Seals typically last 5-7 years.
Installation Best Practices
Clean gaps thoroughly before sealing. Remove loose debris, old caulk, and dirt. Rodents can push through gaps filled with loose material.
For hardware cloth, overlap seams by at least 2.5 centimetres and secure with fasteners every 5 centimetres. For caulk, apply a continuous bead and allow it to cure fully (24-48 hours) before considering the seal complete.
Door Sweeps and Vent Screens
Install door sweeps on all exterior and garage entry doors; rubber and vinyl are more durable than brush styles. Check sweeps regularly and replace annually if worn. Use 6-millimetre hardware cloth for vent screens on soffit, foundation, and attic vents, secured with corrosion-resistant screws or rivets. Inspect vent screens each fall, as rodents may damage them during their autumn search for entry points.
Get A Free Pest Control Quote Today →
Preventing Mice in Winter: Seasonal Entry Point Variations
Rodent behavior and vulnerability patterns change dramatically across seasons. Understanding these shifts allows you to target inspections and sealing at the times when they matter most.
Fall (September-November): The Critical Sealing Window
Fall is the single most important time to seal entry points. Rodents actively scout gaps and cracks as outdoor food sources disappear and temperatures drop. A sealed entry point in October prevents an infestation before it starts; sealing in January stops rodents already nesting in your walls, which is much harder to achieve.
Fall inspection priorities: foundation perimeter (before October 15), soffit vents and roofline, utility penetrations, and door seals. Seal all identified entry points by October 31, as rodent activity peaks in November.
Winter (December-February): Foundation and Snow-Line Entry Points
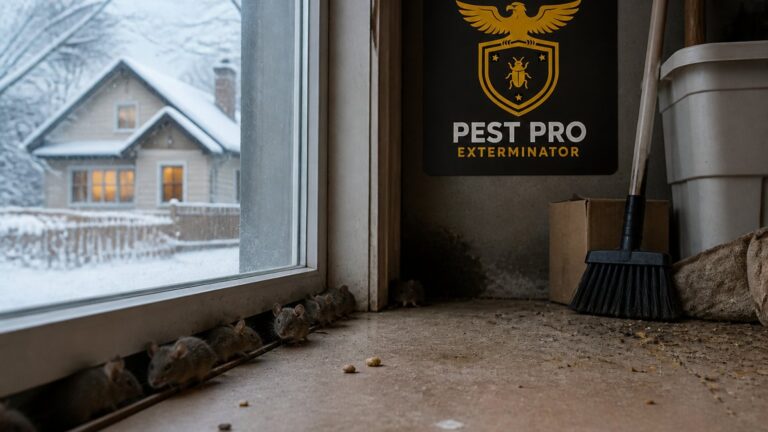
Winter entry points differ from fall. Rodents dig under snow to reach ground-level gaps, and freeze-thaw cycles create new cracks in foundations and masonry. Rodents that didn’t find entry in fall now focus on foundation-level penetrations.
Winter inspection priorities: foundation cracks (look for rodent tracks in snow), snow-line gaps, damaged fascia and soffits, and gutter damage. If you missed fall sealing, focus on foundation-level gaps immediately and seal any new cracks revealed by winter weather.
Spring (March-May): Thaw Vulnerabilities and Nesting Preparation
Spring thaw exposes entry points hidden by winter snow. Freeze-thaw cycles have expanded cracks. Rodents shift behavior from survival mode to nesting mode; they’re seeking materials and safe spaces to raise young.
Why spring matters: Freeze-thaw cycles can expand foundation cracks by 10-20%. Cracks sealed in fall may have reopened. Rodents now seek nesting sites, not just shelter. They’re more aggressive about enlarging entry points to access attics and wall voids where they can nest safely.
Spring inspection priorities:
- Foundation re-inspection: Check all cracks sealed in fall. Freeze-thaw cycles may have reopened them. Re-seal as needed.
- Attic and wall void access: Rodents actively seek nesting sites. Inspect attic vents, soffit vents, and any roof penetrations for new damage or gnaw marks.
- Exterior wall voids: Check for gaps where siding meets foundation or trim. Rodents exploit these to access wall cavities for nesting.
- Crawl space vents: Spring moisture and thaw water attract rodents to crawl spaces. Inspect vent screens for damage.
Spring action: Complete a full re-inspection as snow melts. Seal any cracks that reopened. Reinforce seals that show wear. This is your second critical window to prevent summer and fall infestations.
Summer (June-August): Maintenance and Monitoring
Summer is the maintenance phase. Rodent activity is lower (they’re nesting and raising young), but entry points can deteriorate in heat and sun.
Summer priorities:
- Weatherstripping and door seal inspection: Heat and sun degrade rubber and vinyl. Check for cracks, brittleness, or gaps.
- Caulk inspection: Exterior caulk can crack and peel in summer heat. Inspect seals around pipes and utilities.
- Vent screen inspection: Summer storms can damage screens. Check for tears or loose fasteners.
- Gutter and downspout cleaning: Debris buildup creates climbing routes. Clean gutters monthly during summer.
Summer action: Replace any weatherstripping or caulk showing wear. Repair damaged vent screens immediately. These small maintenance tasks prevent fall entry point failures.
Prioritizing Your Inspection and Sealing Timeline
If you can only inspect and seal once per year, do it in fall (September-October). This single action prevents the majority of winter infestations.
If you can inspect twice, add a spring re-inspection (April-May) to catch freeze-thaw damage and reinforce seals before nesting season.
If you can inspect quarterly, follow the seasonal priorities above. This approach catches vulnerabilities as they emerge and prevents infestations year-round.
Professional vs. DIY Rodent Exclusion Inspection
You can perform a basic inspection yourself. Walk around your home’s exterior. Look for obvious gaps and cracks. Check vents and utility penetrations.
A professional inspection is more thorough. Pest control specialists know where rodents hide. They use specialized tools to detect entry points you might miss.
Professional inspections identify rodent exclusion opportunities you won’t spot alone. They assess structural vulnerabilities. They recommend materials suited to your home’s construction.
DIY sealing works for obvious gaps. For complex entry points, professional help prevents mistakes. Improper sealing leaves rodents alternative routes inside.
Pest Pro Exterminator provides comprehensive inspections and exclusion services. We identify all rodent entry points and seal them properly.
Visual Inspection Checklist for Rodent Entry Points
Use this checklist during your inspection. Check each item as you complete it.
| Inspection Area | What to Look For | Status |
|---|---|---|
| Foundation | Gaps, cracks, settling damage | ☐ |
| Roofline | Damaged fascia, soffit gaps | ☐ |
| Soffit Vents | Damaged screens, missing covers | ☐ |
| Weep Holes | Open or damaged holes | ☐ |
| Utility Penetrations | Gaps around pipes and lines | ☐ |
| Door Frames | Gaps, damaged weatherstripping | ☐ |
| Garage Door | Worn seals, bottom gaps | ☐ |
| Attic | Droppings, nesting materials | ☐ |
| Crawl Space | Entry points, activity signs | ☐ |
| Interior Outlets | Gaps around electrical boxes | ☐ |
Sealing rodent entry points before winter is far easier than dealing with an infestation inside your home. The materials are inexpensive. The work is straightforward. The payoff is a rodent-free winter.
Pest Pro Exterminator can handle the inspection and sealing for you. We identify every rodent entry point on your property and seal them with professional-grade materials. Our team works quickly and thoroughly to protect your home before temperatures drop. Contact us for a free consultation and get your home rodent-proofed today.
Frequently Asked Questions
How small of a hole can a mouse fit through?
Mice can squeeze through holes as small as 6 millimetres in diameter, about the width of a pencil. Rats need slightly larger openings, typically 12 millimetres or more. This is why identifying and sealing even tiny gaps is critical for rodent exclusion. Check foundation cracks, utility penetrations, and soffit vents carefully during your perimeter inspection.
What are the most common signs of rodent entry points?
Look for rub marks (dark smudges along walls where rodents travel), gnaw marks on wood and plastic, rodent droppings near baseboards, and small holes in walls or foundations. Fresh entry points often show chewed material around the opening. You may also notice structural damage to door sweeps, vent screens, or soffit areas. Active entry points typically have accumulated debris or fresh gnaw marks.
What materials are best for sealing rodent entry points?
Steel wool combined with caulking is highly effective because rodents cannot chew through steel. Hardware cloth (quarter-inch mesh) works well for larger gaps. Caulk alone fills cracks but can be gnawed through over time, so pair it with steel wool for durability. For vents and larger openings, install rigid vent screens or hardware cloth secured with fasteners. Avoid foam sealant alone; rodents can chew through it.
How can I tell if a rodent entry point is currently active?
Active entry points show fresh gnaw marks, new droppings, or visible rub marks around the opening. Dust or flour placed near the suspected entry will show footprints if actively used. Look for urine stains under UV light (though this requires a blacklight). If you seal an entry point and rodents continue to appear indoors, they are likely using a different entry point; conduct a thorough perimeter inspection to find all access routes.